The Arm
Why I built my own arm.
Well, first up, I figured no sane prosthetics company would be keen on building me an arm specifically for riding motorcycles — just so I could go out and lose the other one. I simply didn’t ask. I didn’t approach any prosthetic companies for a purpose‑built arm. I went into this thinking it was all up to me: design, build, test, repeat until successful. What I had was the socket from my hospital‑issued prosthetic and a dirt bike. I just needed to design, build, and test the part that joined those two things together… with me attached (hopefully).
I could have gone back to the maker of my original hospital‑issued prosthetic, and I’m sure they would have offered a solution. But it would have been the same generic motorcycle prosthetic you see when you Google it — limited movement, not that cool to look at, and not something I felt connected to. Even the first arm I designed for myself fell into that category. It worked, but it didn’t look good, and the movement wasn’t there. I built it because it was all I could afford at the time, knowing it was temporary and not the arm I wanted to call my own.
The biggest issue with every off‑the‑shelf design I found was the restricted elbow movement. I had already come up with the system I use now early in the project, but it was too expensive to build at the time. Eventually, after a lot of overtime and subcontracting work, I made it happen — and the difference was worth every hour. The extra range of movement and the linear feel make riding smoother and require far less effort.
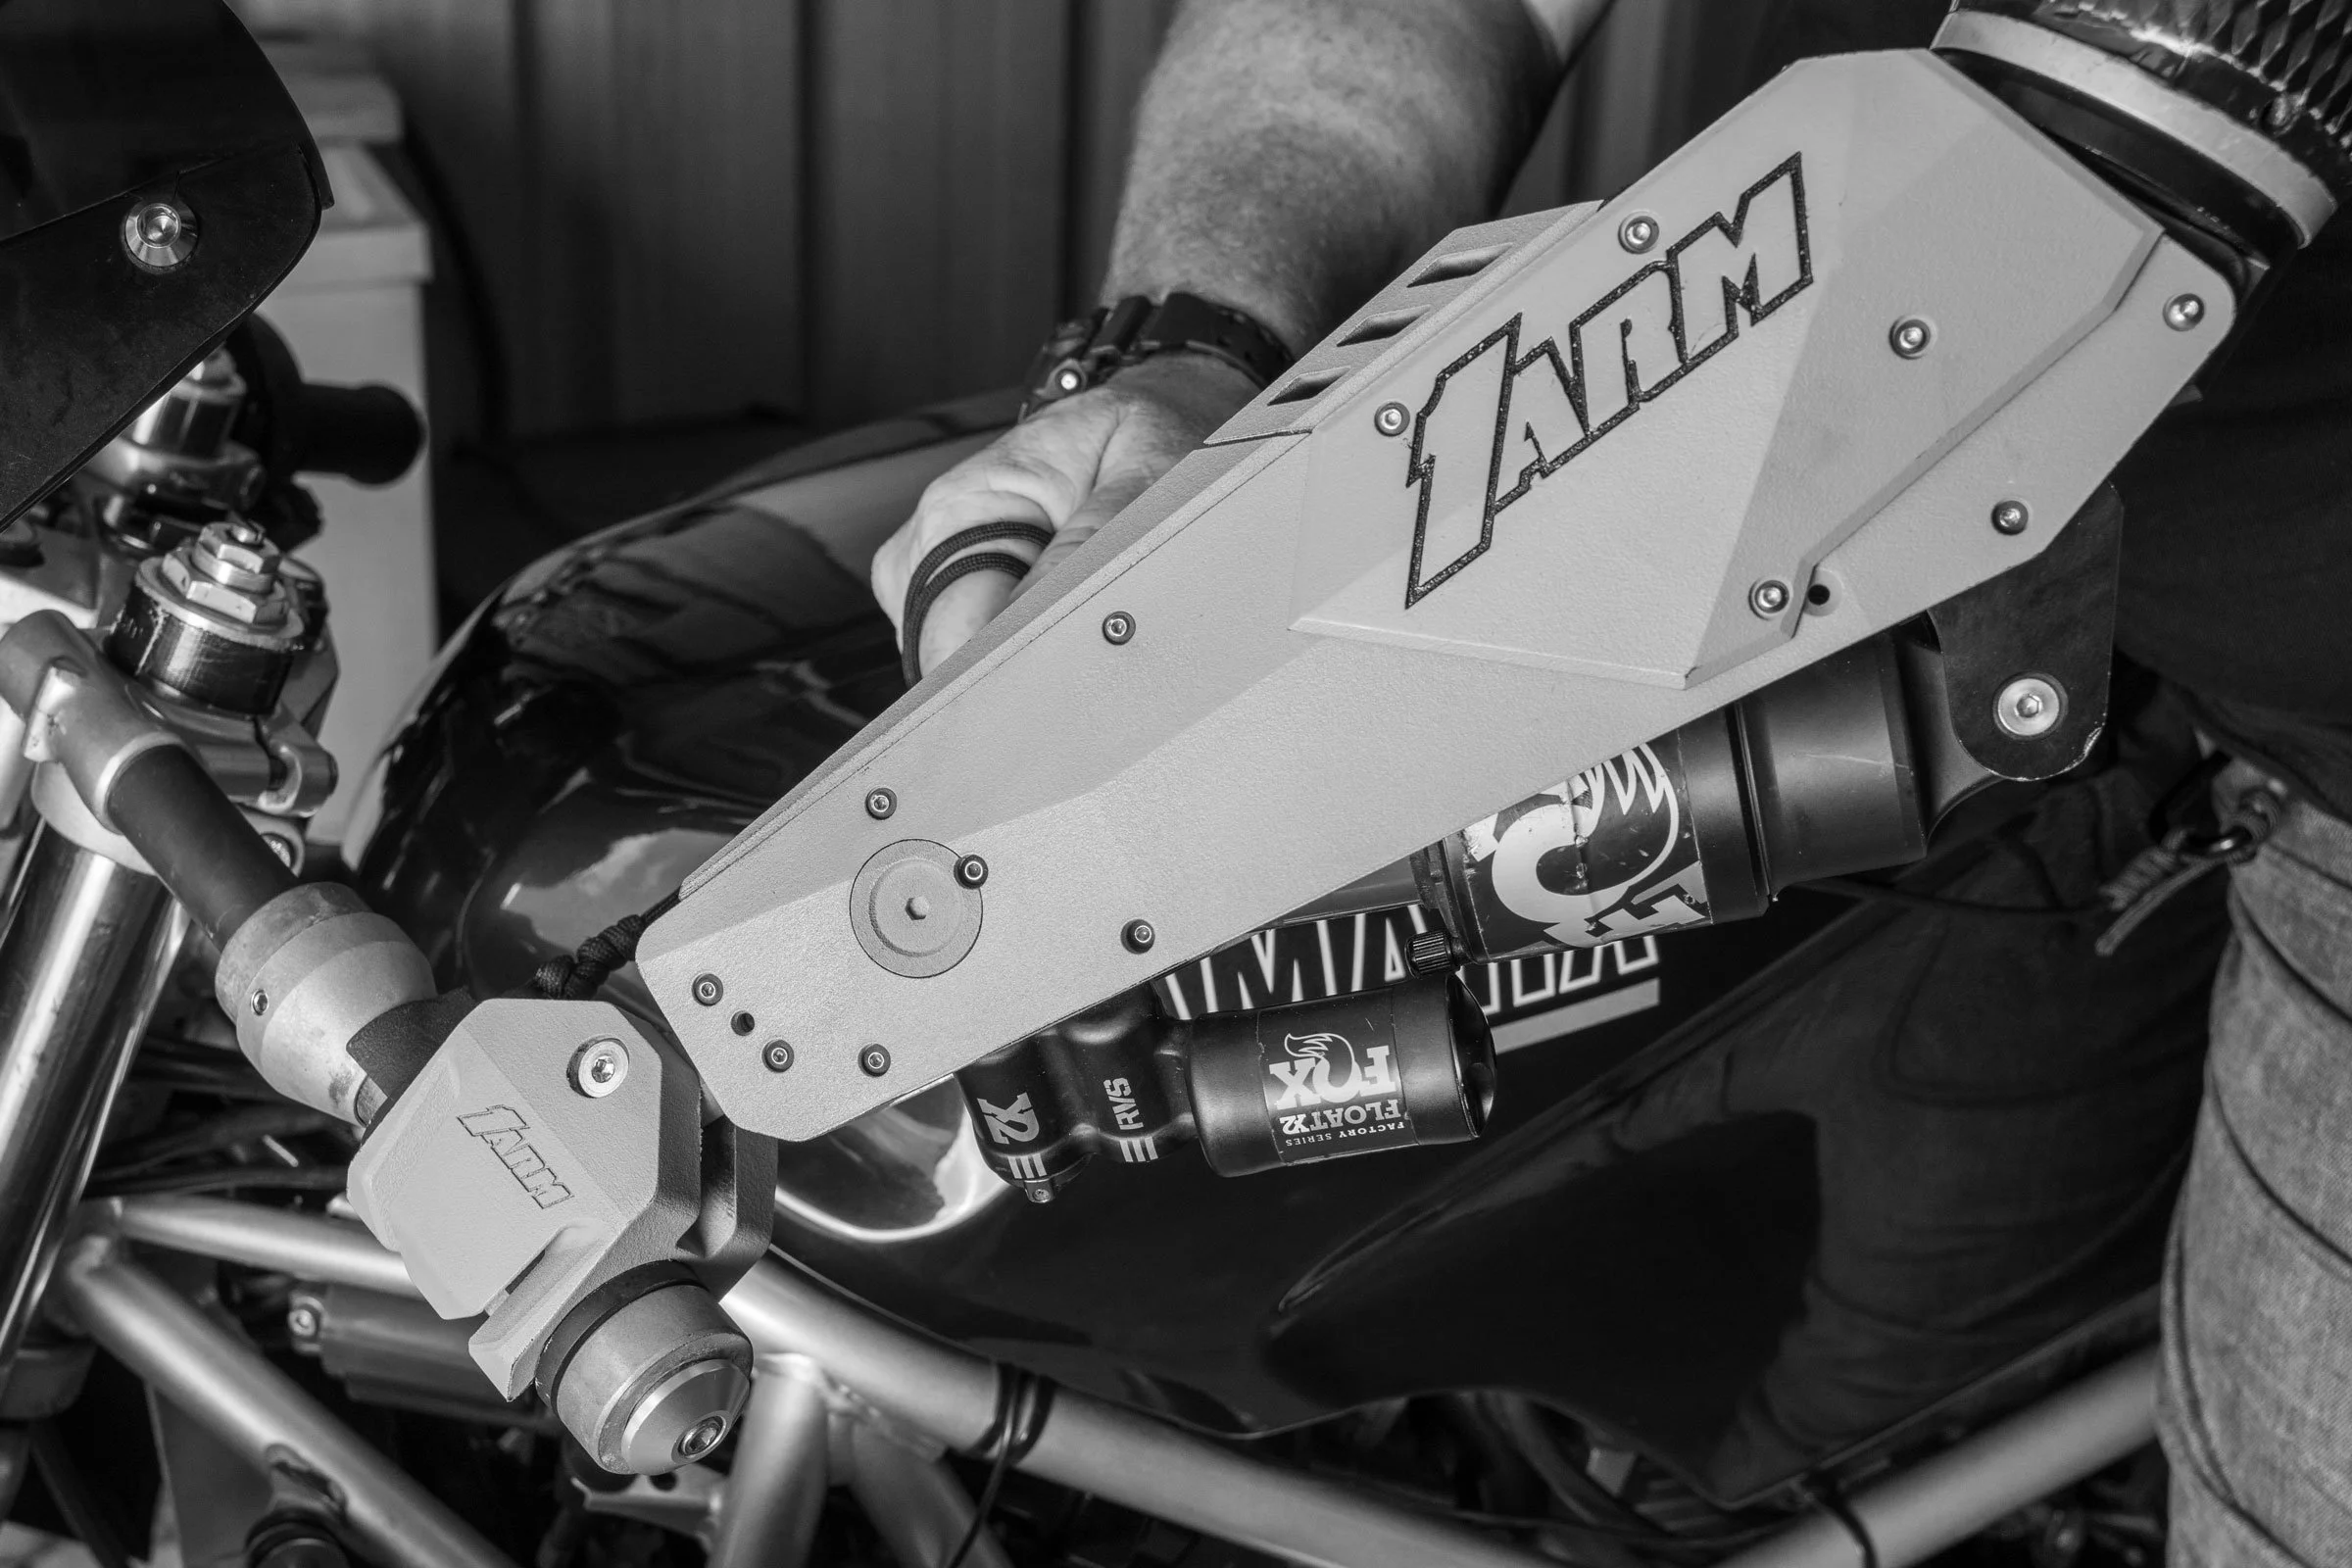
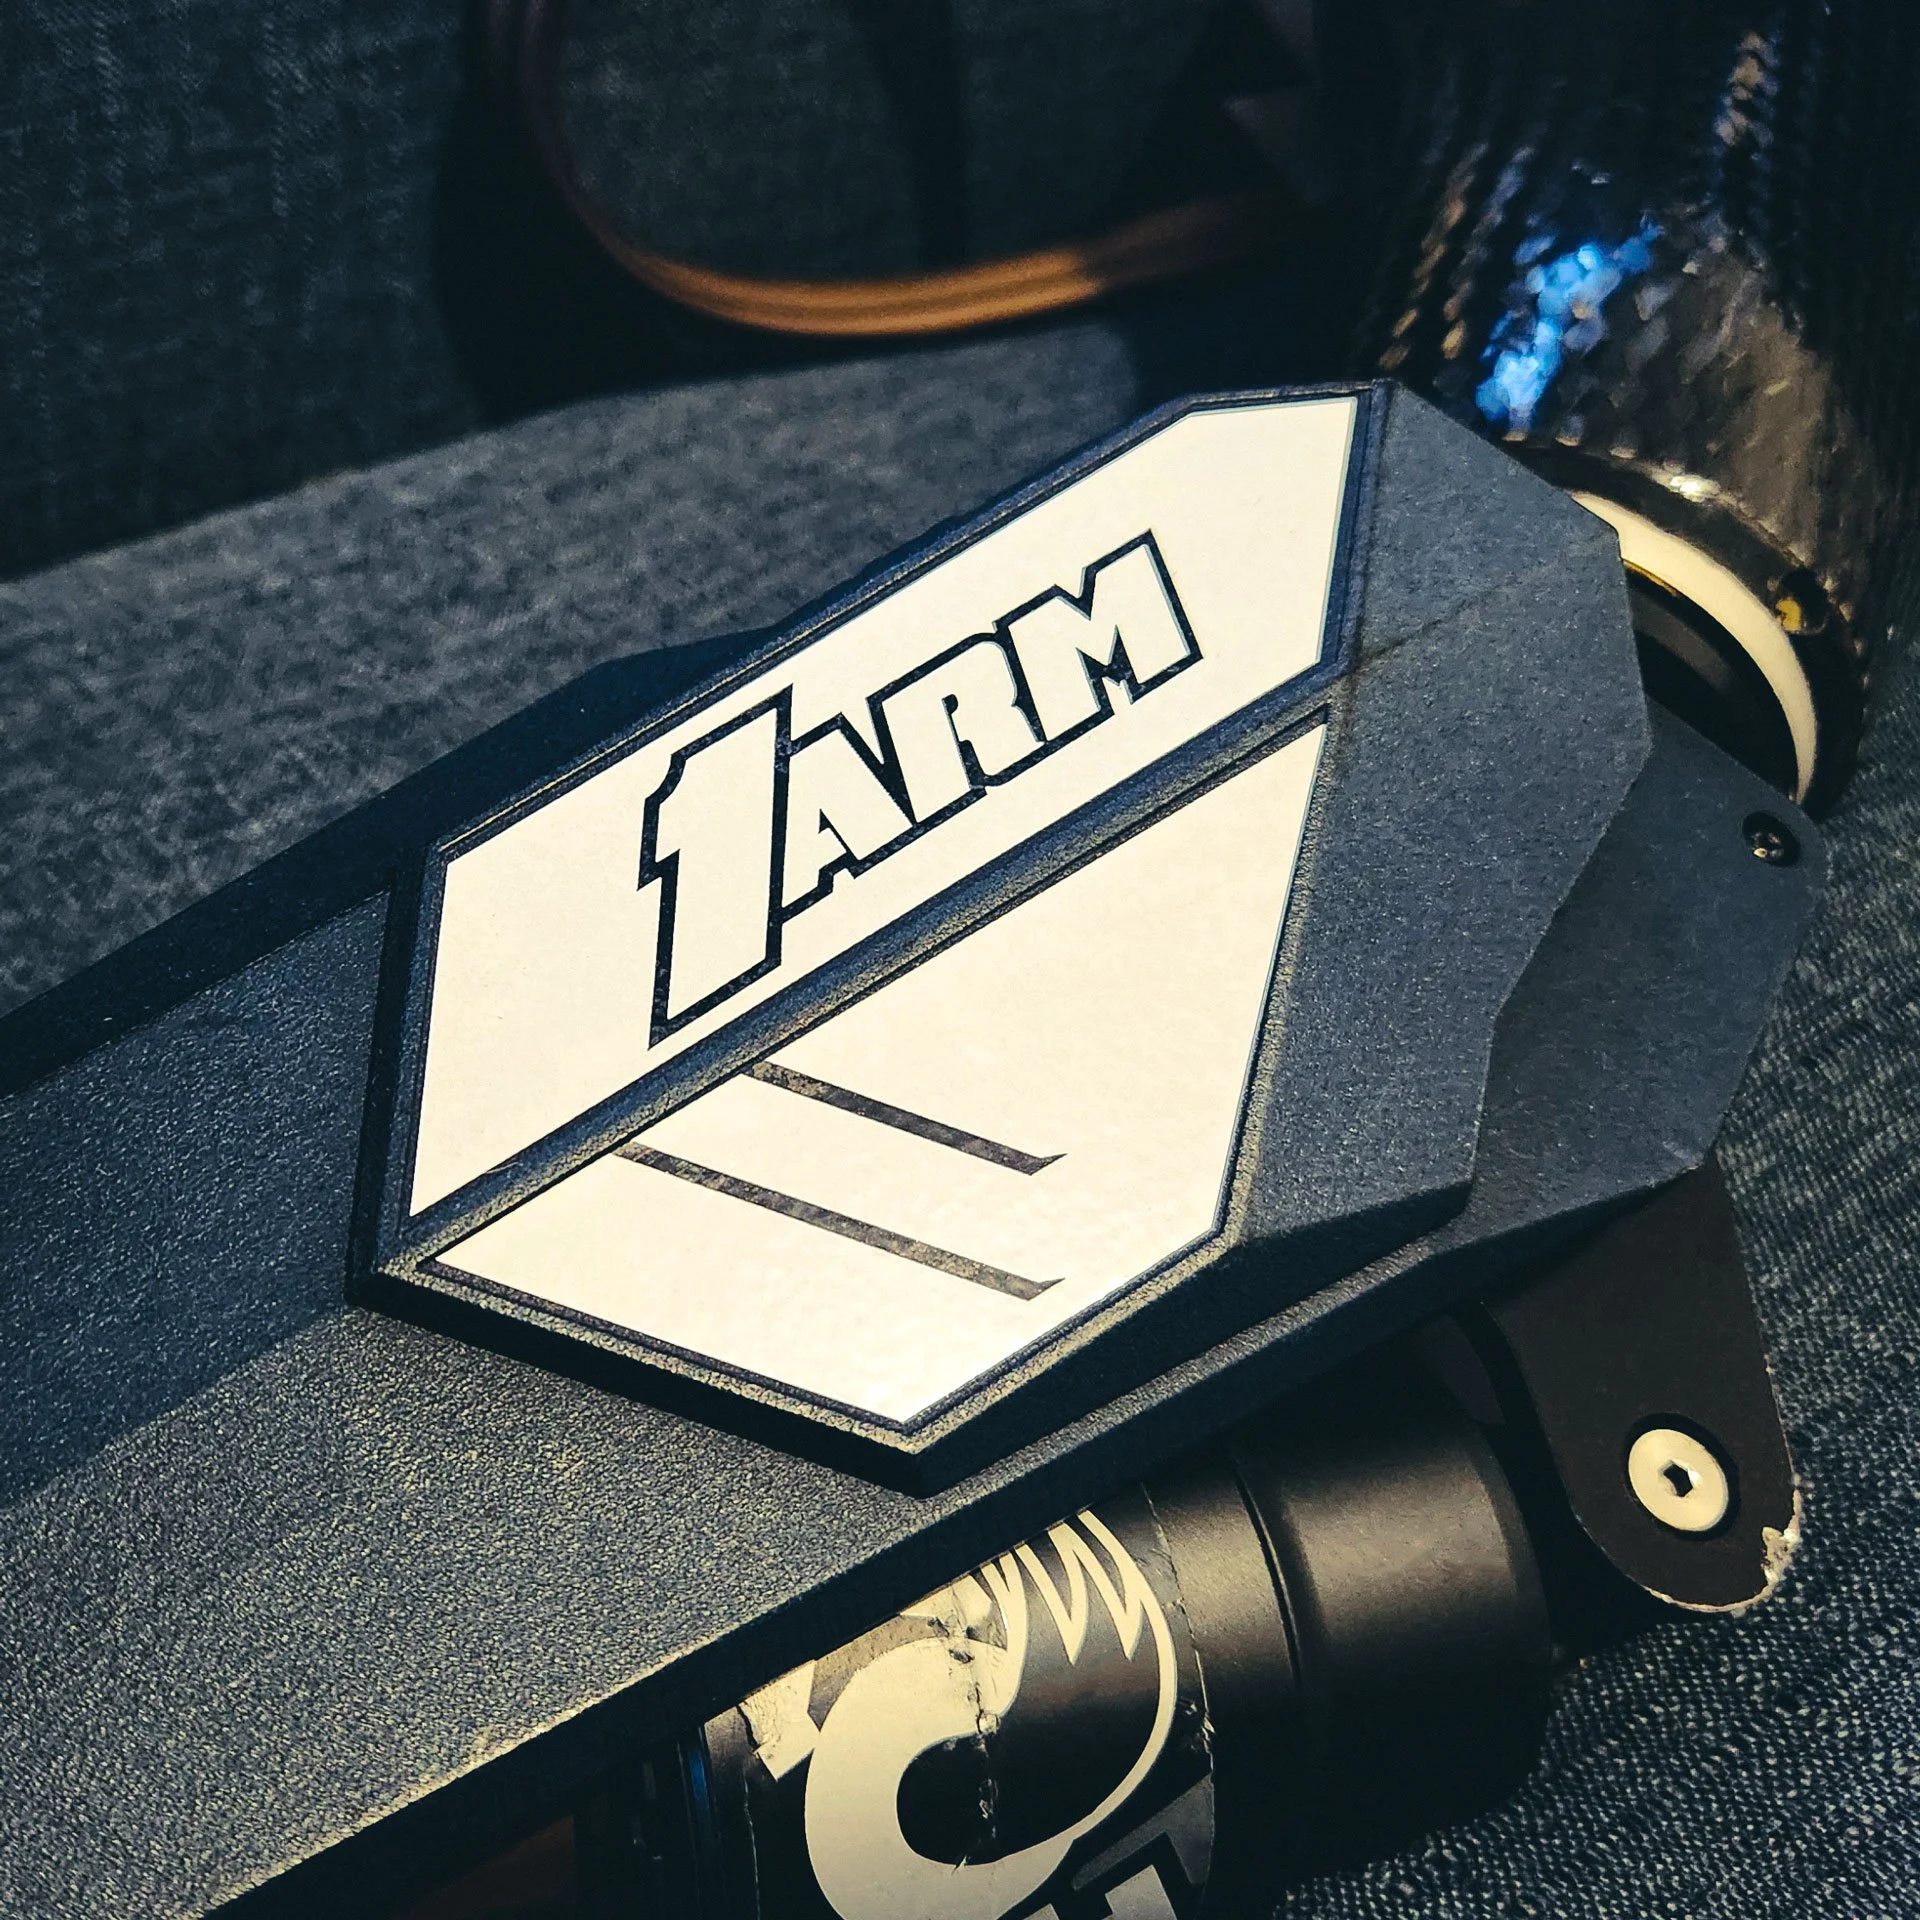
Once I had that system working, it opened the door to another feature: I could finally make the arm look cool. The first version using this mechanism looked “okay,” but one more iteration locked in the outer shell design. The shell is removable, allowing the arm’s look to be changed entirely. I just need to find the time to develop a few different shell designs to show what’s possible.
Designing and testing the hand/quick‑release mechanism was a journey in itself. I went through countless 3D‑printed prototypes, many failures, and a few near misses — a WR450 is not the best machine to be testing 3D‑printed hands. I had a lot of terrifying fun on that bike, figuring out what worked and what didn’t. I did look into commercially available hands and even 3D‑printed a mock‑up of one design, but with my limited shoulder movement, something didn’t sit right with me. So I kept designing and testing my own.
My first hand worked, but the disconnect system was complicated, and grip strength was basically on or off. That design was released using a tethered pin attached to my right wrist. I learned quickly that tethered systems can release at the wrong time if the tether is attached to the wrong part of your body. I wanted something safer and more predictable. I’d seen hands that released under load, but the adjustment of that release pressure felt vague. The system I use now still uses a tether, but its main job is voluntary release when getting on or off the bike. The hand is designed to release under load regardless of whether the tether is used. The release mechanism is adjustable, but in a controlled, precise way. I haven’t had an accidental release yet — and, for better or worse, I’ve had an accident that tested it properly. It works. I don’t recommend crashing to test things.
There are a few things I love about the design that I haven’t seen done well elsewhere:
• The range of movement
• The ability to change the style or look of the arm
• A controlled, predictable, quick‑release that isn’t prone to accidental activation
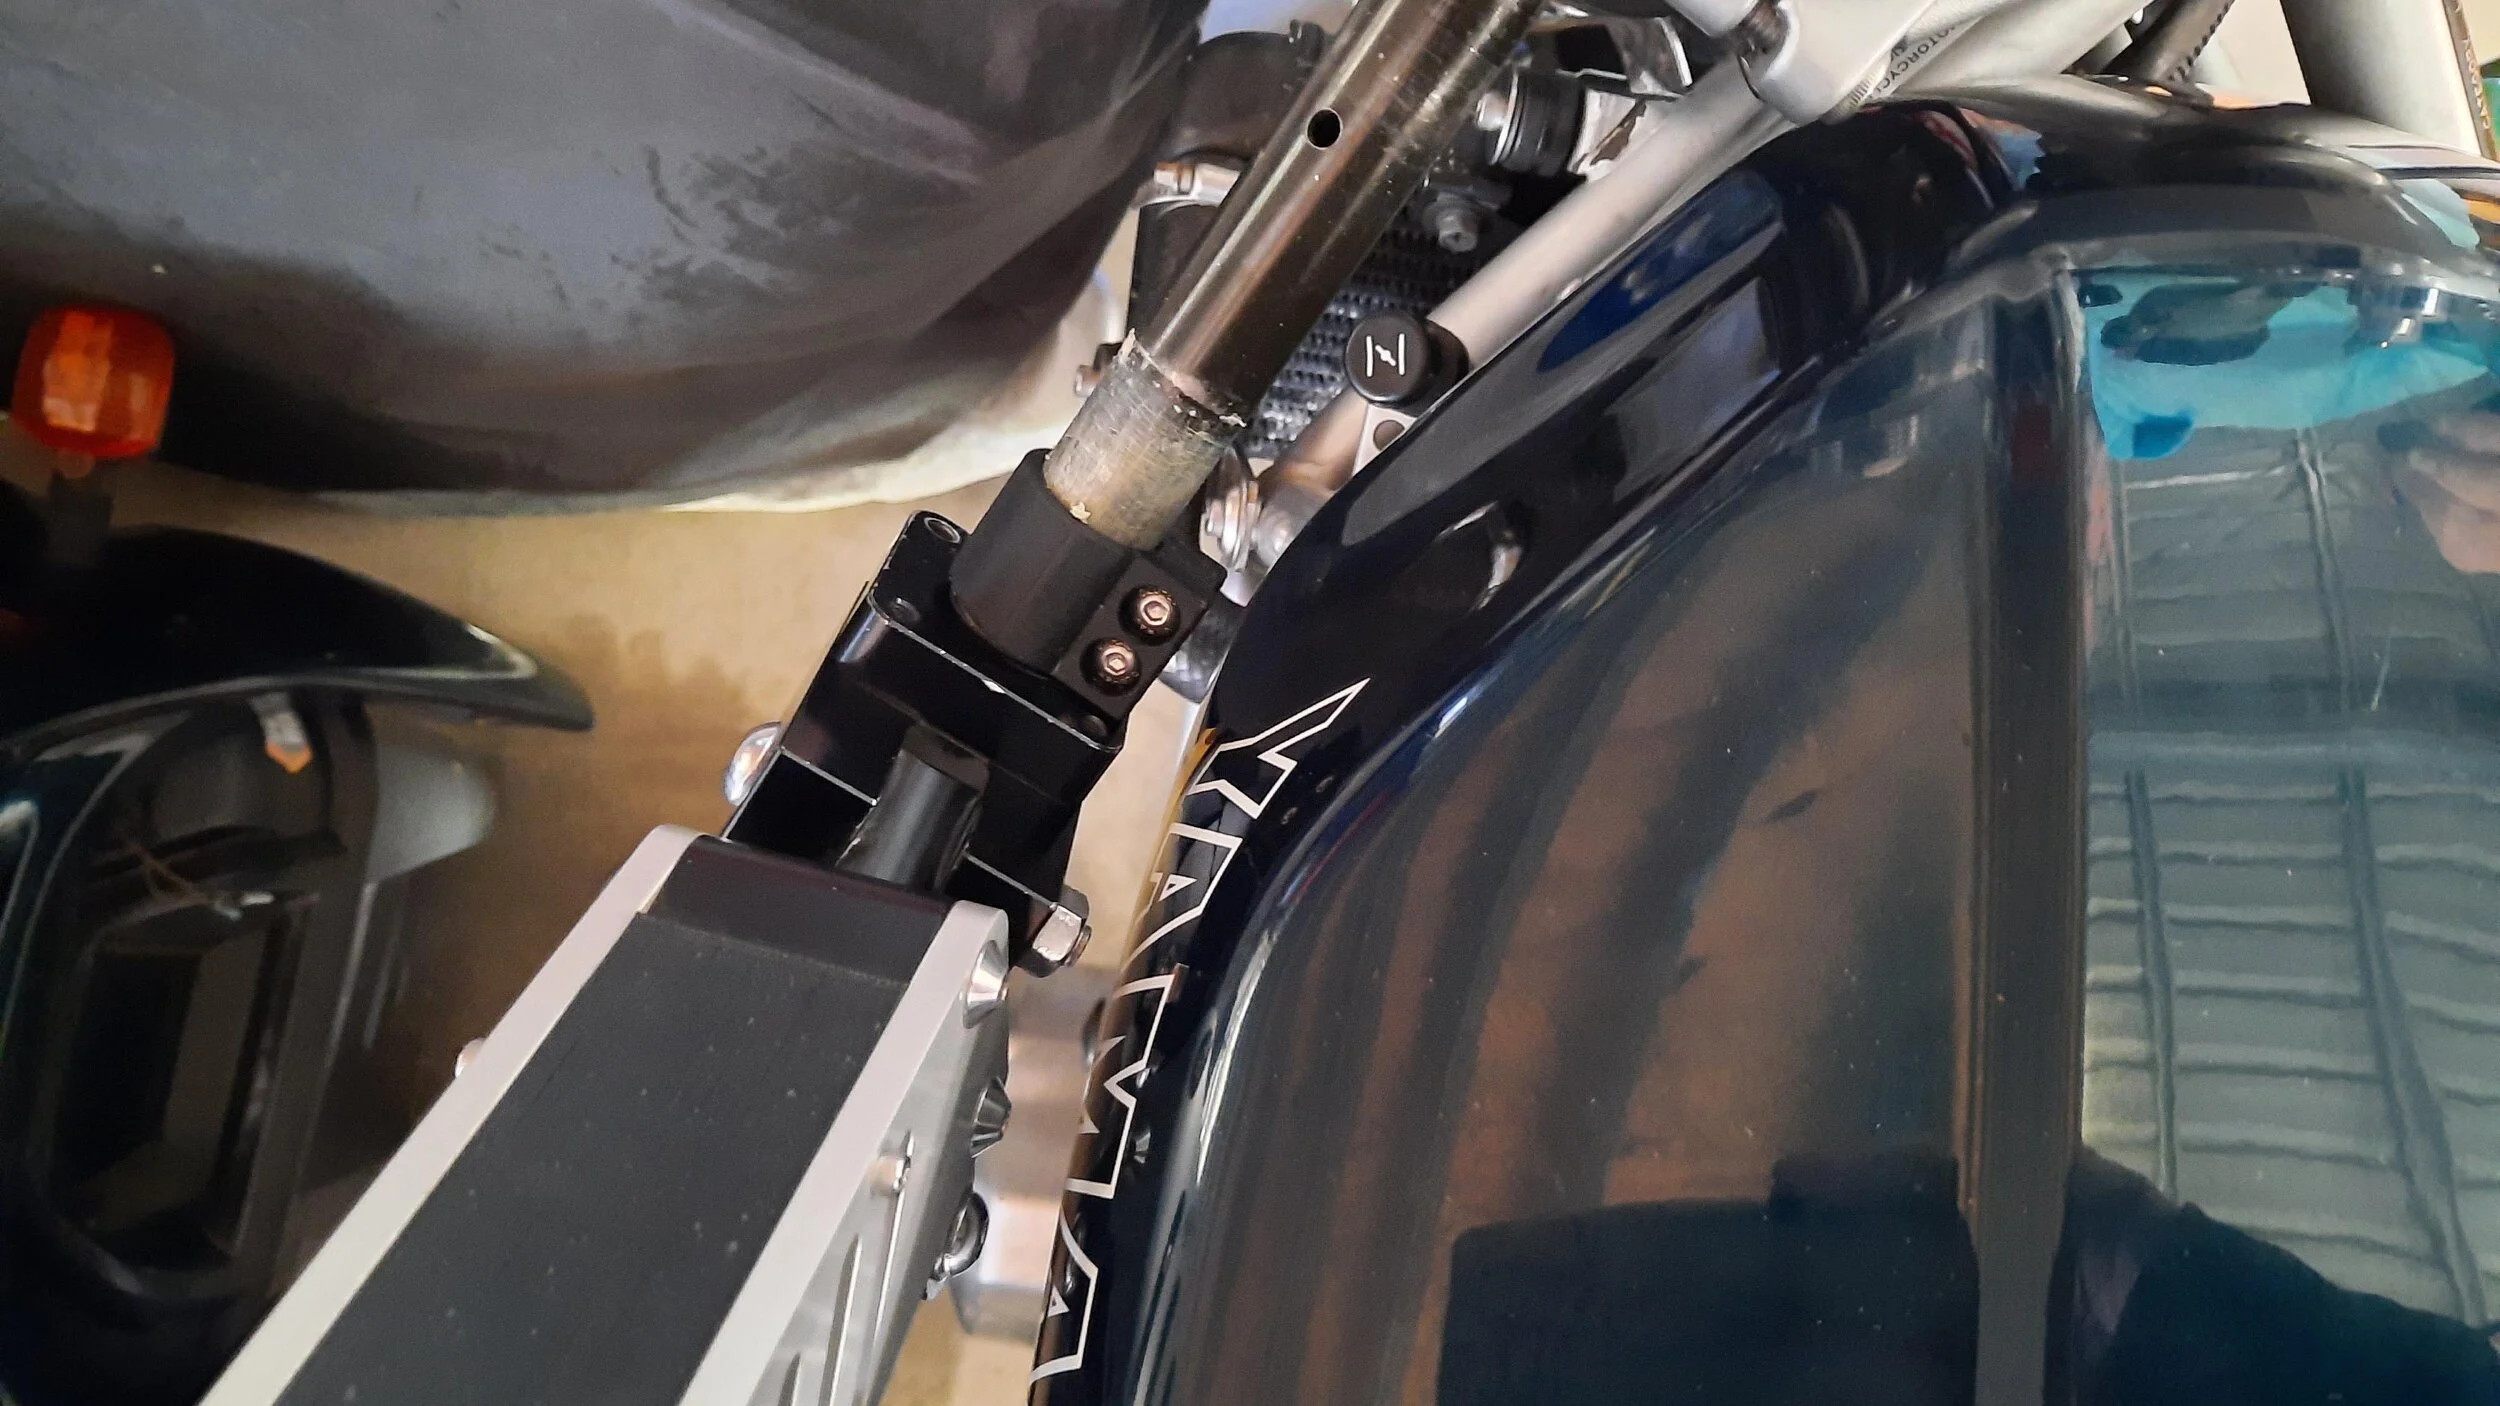
The hand is sized for 7/8" handlebars, but the design scales easily to 1" bars or other sizes. I haven’t had issues with vibration or harmonics, though switching from an aluminium hand to a 3D‑printed nylon one made a noticeable difference. The move to composite materials was mostly to avoid damaging the bike — another reason the current design uses a full nylon outer shell. It reduces the chance of scratching or denting the bike when getting on or off. I’ve also experimented with TPU sections in the outer shell, which showed promise, and I may explore that further in future revisions.
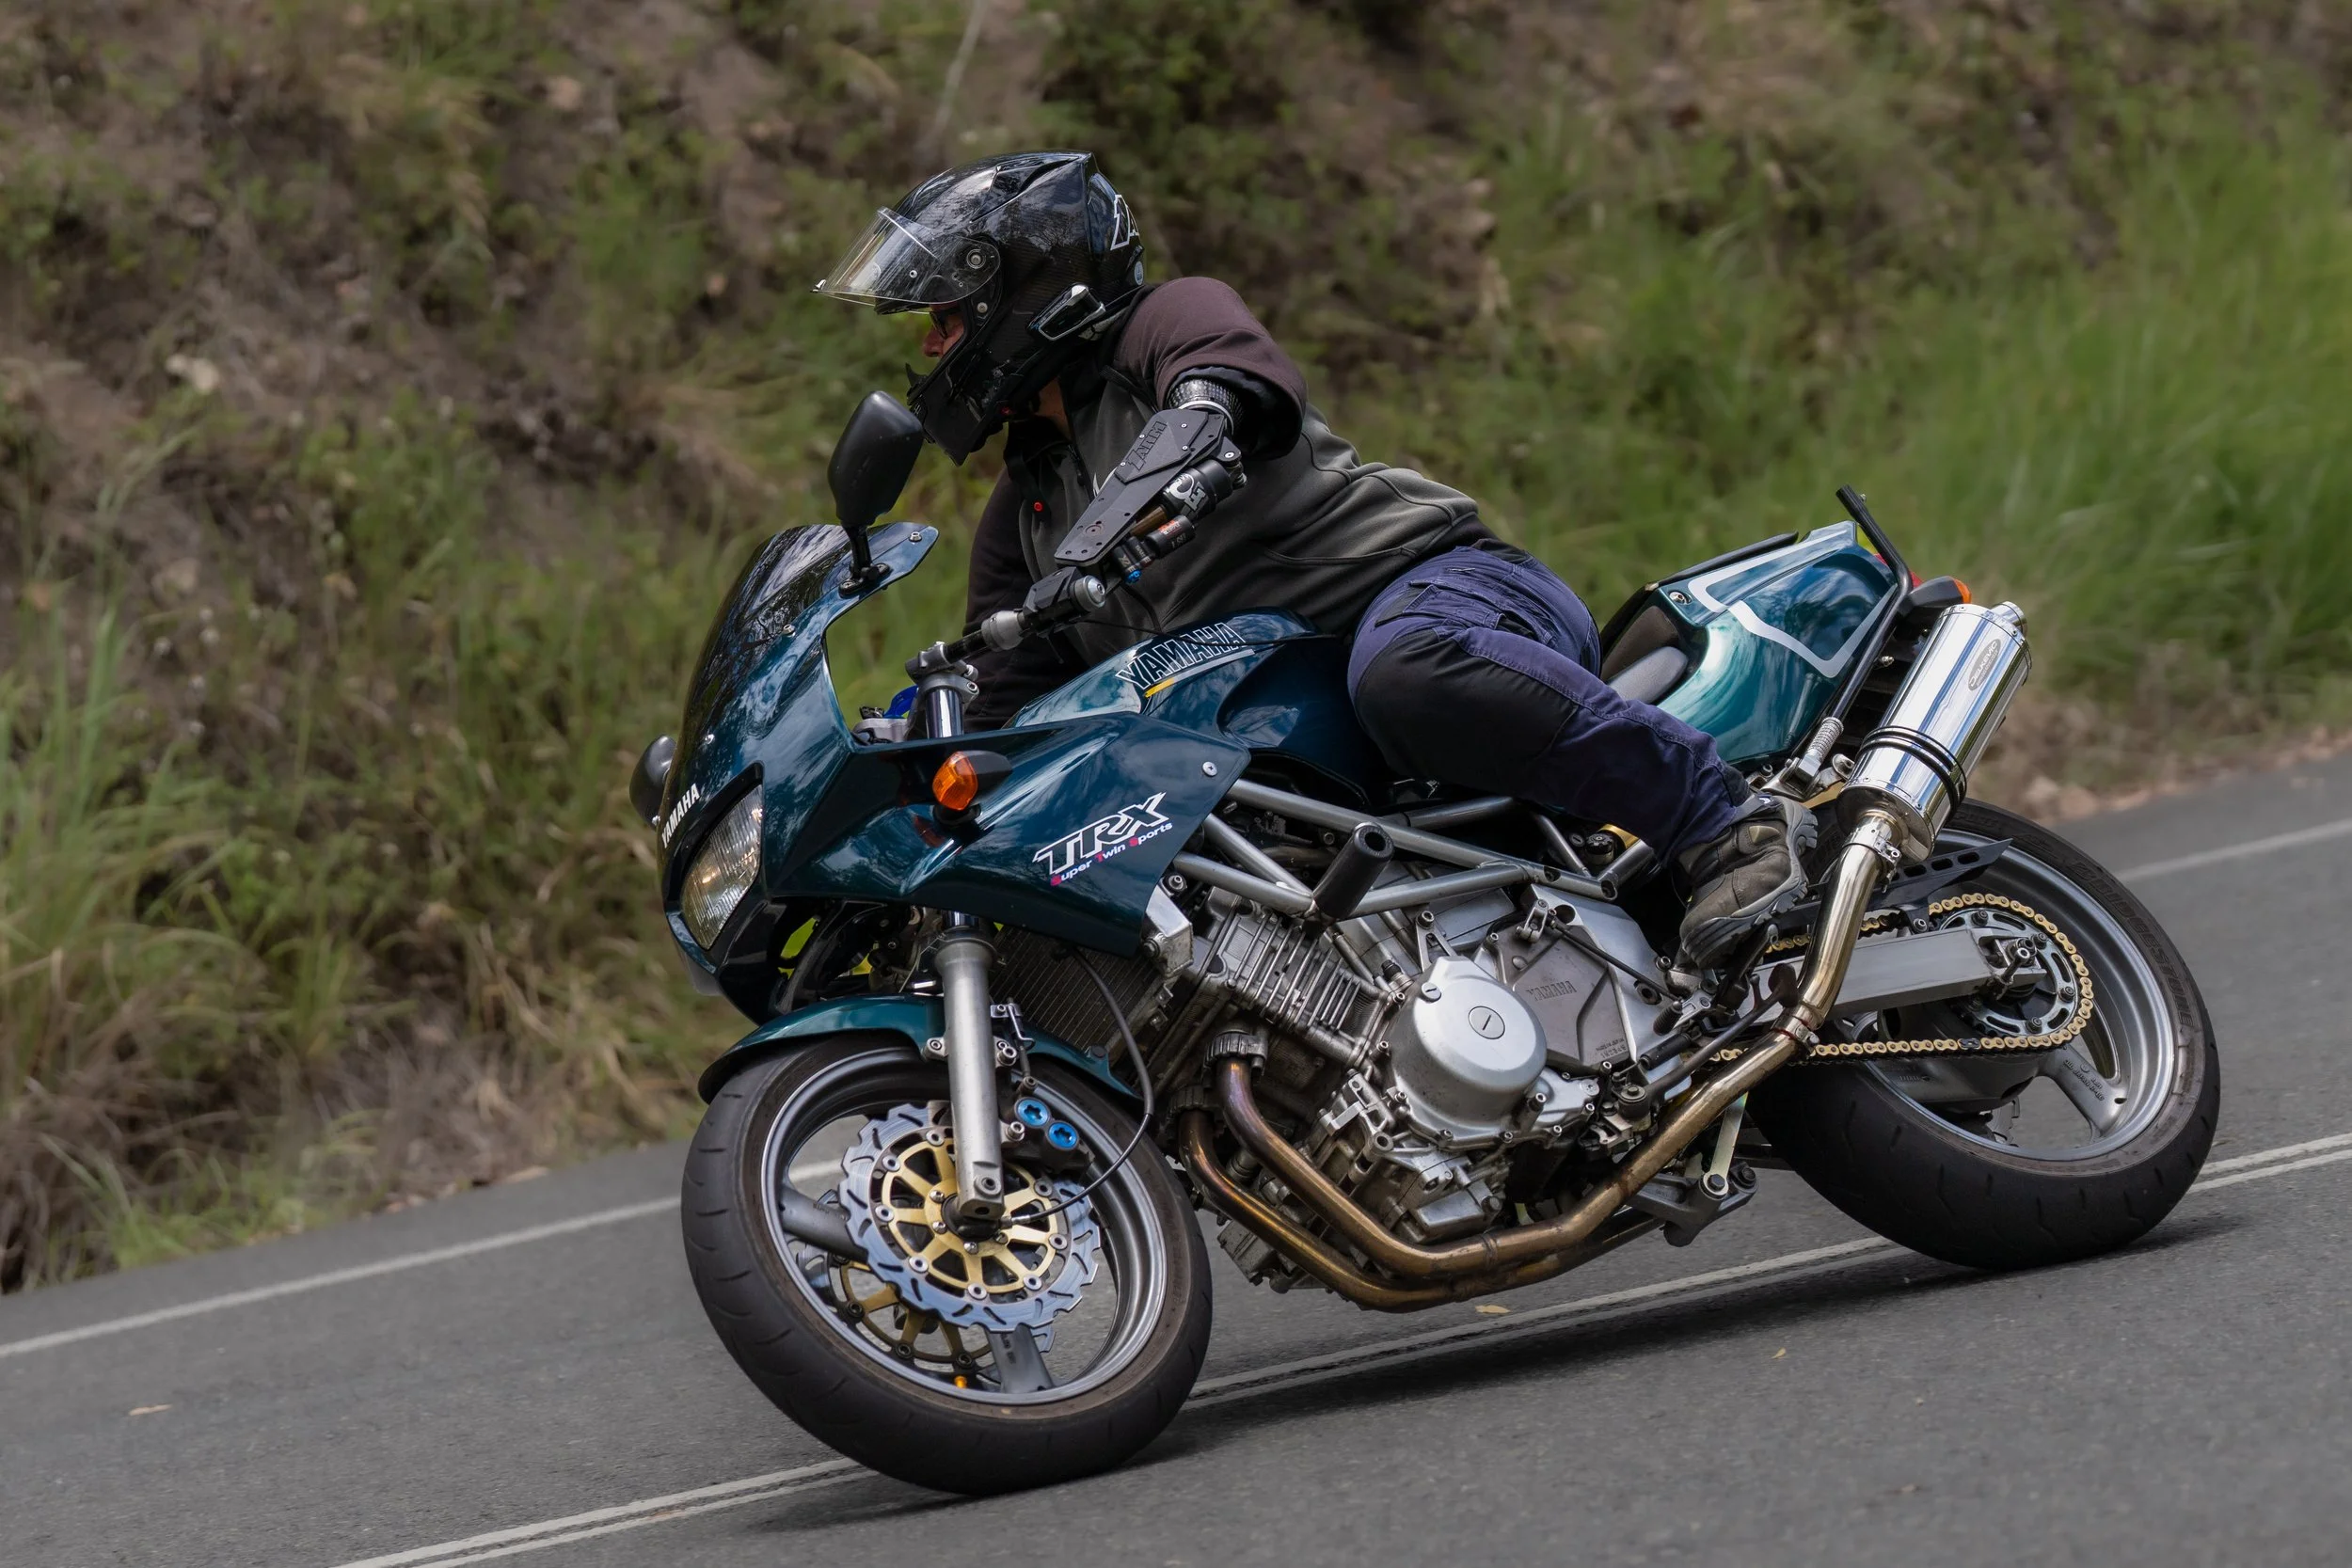
Comfort mostly comes down to the socket and the riding position. All of my bikes have a forward‑leaning riding position, so there’s more load on the arm, but I haven’t had major issues. Long rides can wear me out, and I’ll feel some discomfort after a few hundred kilometres, but nothing unexpected.
The current design technically allows the wrist to “roll,” but I keep it locked. With my shoulder strength, riding with it unlocked is uncomfortable. Yaw at the wrist is the next movement I want control over. There’s some adjustability in how you can change the “feel” at this joint, but I’d like it to be something I can tune more precisely.
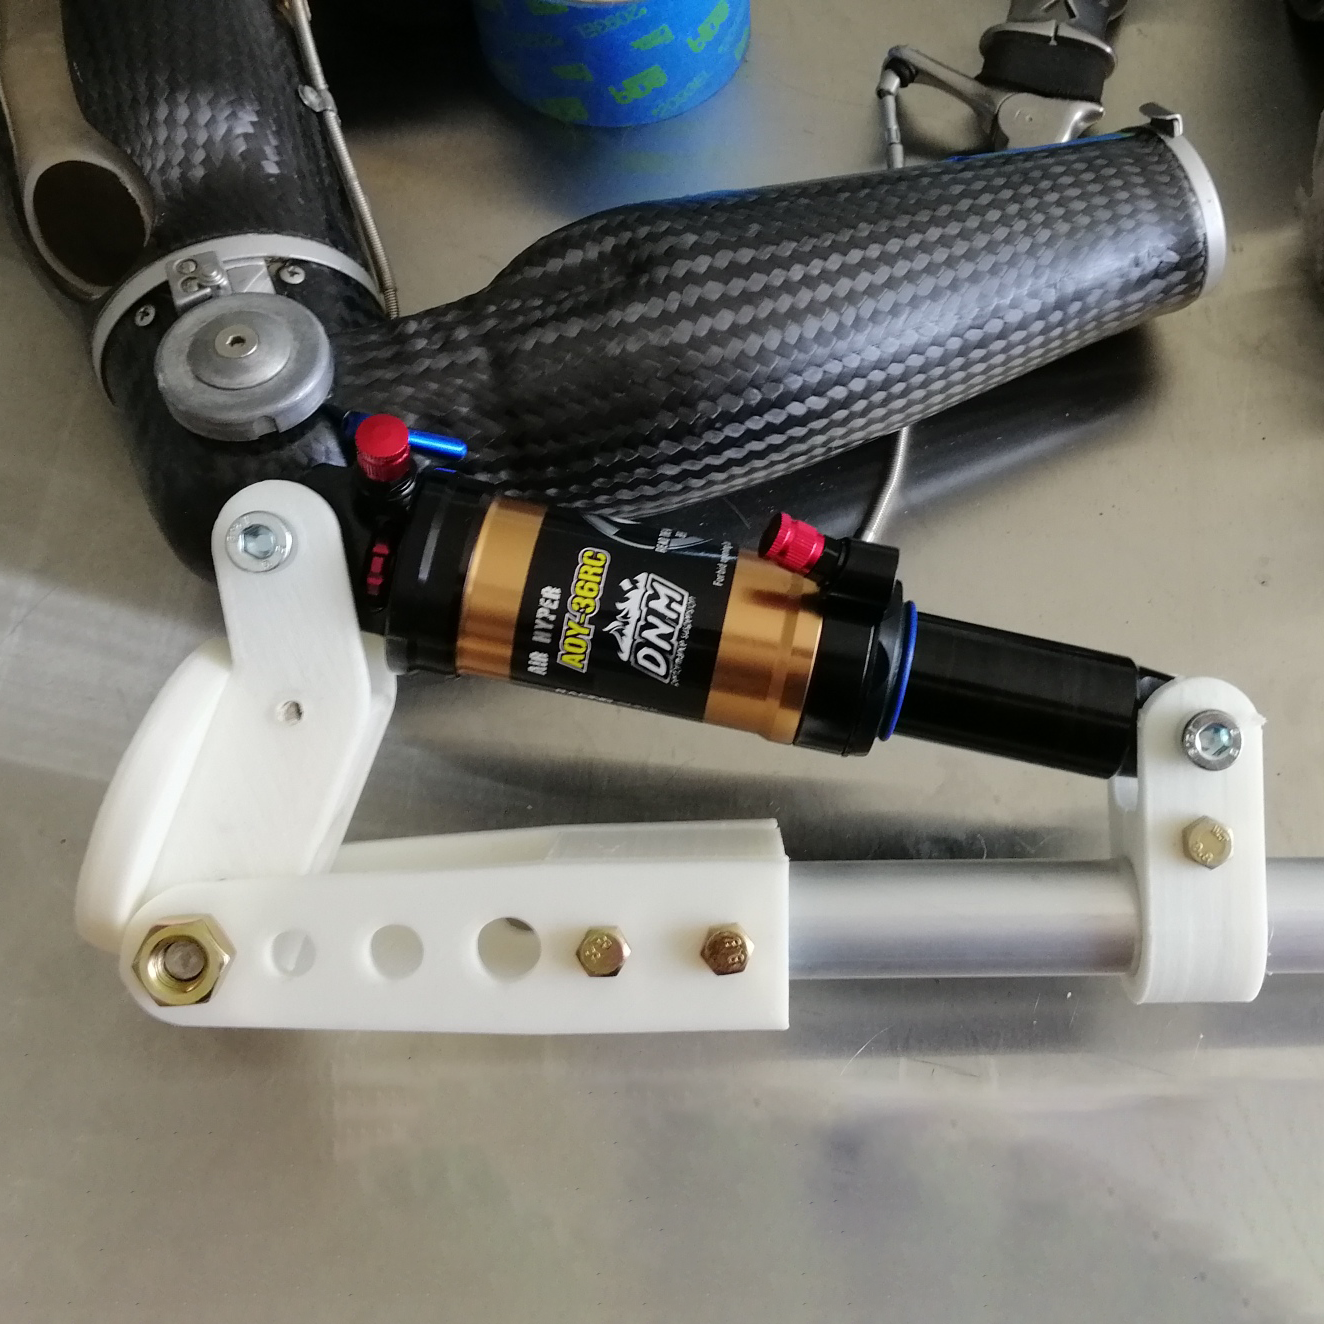
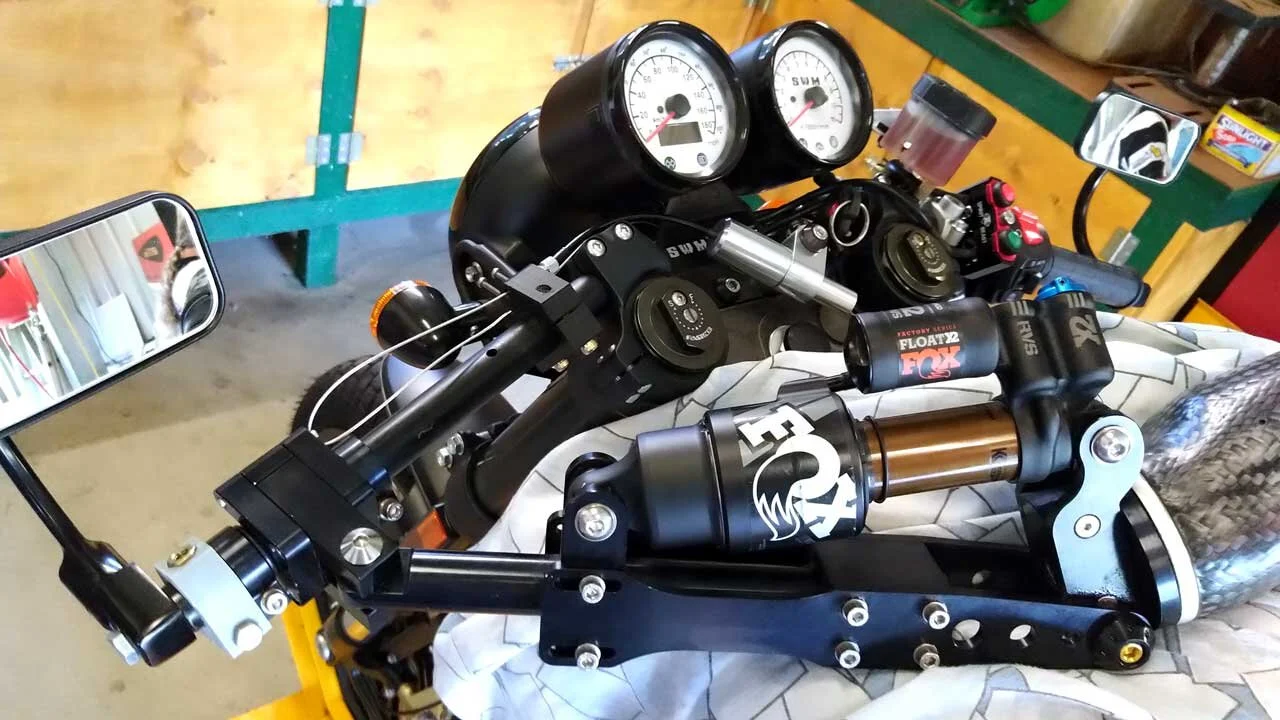
The arm uses a Fox Float X2 shock, and I feel this is the secret to making the arm feel close to natural. When I send the Fox shock off for servicing, I use a DNM shock, and it’s not the same. How I ride with the arm is mostly about using my shoulder’s strengths: under hard braking, I push my arm forward; in right‑hand corners, I pull myself up; in left‑hand corners, I push down to initiate elbow flexion. If you had better shoulder strength than I do, you could probably use the arm even better than I currently can.
Design philosophy
My design philosophy for the arm? Pretty much two rules: build it on a shoestring budget, and keep it to simple, mechanical solutions that I can service, access, and repair myself. I’m not interested in over‑engineering or building something so complex that I can’t fix it in my own shed. If a design can be made simpler, lighter, or easier to maintain, that’s the direction I’ll take every time.
The evolution of my arm paralleled the evolution of 3D printing. As materials became stronger, more reliable, and more affordable, I leaned into them. Early on, custom‑machined components were the only option, but as 3D printing caught up, it loosened the budget restrictions. 3D printing let me experiment, fail fast, and refine ideas without going broke.
I’ve avoided electronics so far — not because I’m opposed to electronic controls, but because I can’t justify the complexity based on how I currently use the arm. If I ever reach a point where finer control, adaptive behaviour, or more responsive movement would genuinely improve the design, I’d explore it. For now, the mechanical system does exactly what I need it to do without unnecessary complication.
At the core of everything I build is a simple idea: make it functional, make it serviceable, and — in the case of the arm — make it something I can trust on the road.
Safety Considerations
Everything on this page comes from my own experience in building and using a custom prosthetic arm for riding motorcycles. None of it should be taken as advice, instructions, or a recommendation for anyone else. Riding a bike with a prosthetic is a profoundly personal setup, and what works for me may not work for someone else.
There are a few realities worth calling out;
Mechanical systems can fail.
Any mechanical system has limits. Parts wear, materials fatigue, and unexpected situations happen. I design my arm so I can inspect it, service it, and replace components when needed — but that doesn’t remove the risk entirely. Regular checks are essential.
Weather, heat, and vibration matter.
Motorcycles are exposed to heat, rain, vibration, and shock loads. Even strong materials behave differently under those conditions. I’ve tested my setup through Queensland summers, storms, and long‑distance rides, but that doesn’t guarantee the same results for anyone else.
A quick‑release system is not a guarantee.
My quick‑release system works for me because I’ve refined it over years of riding, testing, and crashing. It behaves predictably under load and doesn’t release accidentally — but that’s the result of a very specific design, fit, and use case. A different rider, bike, or riding style could produce different outcomes.
Paint protection and contact points.
Earlier versions of my arm could damage paintwork on my bikes or anything nearby. Version 3.0 solves most of that with the outer shell, but contact points still matter. Anyone experimenting with their own setup needs to understand how the arm interacts with the bike under braking, cornering, and movement.
Fit and comfort are individual.
Sockets, straps, and interfaces are unique to each person. What feels natural and secure for me might feel completely wrong for someone else. Comfort affects control, and control affects safety.
Crashes are unpredictable.
I’ve crashed with this arm. It held up, and so did I — but that’s not a guarantee. The forces involved in a crash are chaotic, and no design can account for every scenario.
This is not a guide.
I’m sharing my journey, not providing instructions. If someone is considering riding with a prosthetic, they should work with qualified professionals, test thoroughly, and make decisions based on their own needs, not mine.
What I Won’t Share (And Why).
I’m open about the journey, the failures, the lessons, and the evolution of the arm — but there are some things I won’t share publicly. Not because I’m trying to be secretive, but because it’s the responsible thing to do.
I won’t share detailed drawings, CAD files, or measurements.
The arm I use is designed specifically for my body, my riding style, and my needs. Sharing technical drawings or dimensions could give someone the impression that they can copy them directly, which isn’t safe. A prosthetic interface is personal, and what works for me may not work for anyone else.
I won’t provide instructions or “how‑to” guides.
This page isn’t a tutorial. It’s a record of my own process. Building or modifying a prosthetic arm — especially one used for motorcycling — involves risks that can’t be captured in a simple set of steps. Anyone exploring their own setup should work with qualified professionals and make decisions based on their own requirements.
I won’t share components that affect safety‑critical behaviour.
Parts like the quick‑release system, the hand interface, and the load‑bearing components have been refined through years of testing, riding, and crashing. Sharing those designs without context could lead to misuse or misunderstanding, and I’m not willing to risk it.
I won’t share anything that compromises my own safety.
Some details are kept private because they relate directly to how the arm attaches to me, how it behaves under load, or how it responds in a crash. Those are personal safety considerations that stay with me.
What I will share
Everything else — the story, the evolution, the lessons learned, the mistakes, the breakthroughs, and the philosophy behind the design. If any of that helps someone else think differently about their own challenges, then this page has done its job
What I Hope Others Take From This.
I’m not sharing this project because I think anyone should copy it, or because I believe my approach is the “right” way to do anything. I’m sharing it because when I first started riding again, I couldn’t find many real‑world examples of people building their own solutions. I would have loved to see someone else’s process — not to replicate it, but to understand what was possible.
If there’s anything I hope people take from this, it’s that progress doesn’t have to be perfect. Version 1 was rough. Version 2 was heavy. Version 2.5 was a turning point. Version 3 is the best so far, but it’s still evolving. Every version taught me something, and every version got me back on the bike.
I also hope this page shows that it’s okay to experiment, to fail, to try again, and to build something that suits your needs rather than what someone else thinks you should have. A prosthetic — especially one used for riding — is personal. It has to feel right, behave predictably, and make sense for the person using it.
Most of all, I hope this helps someone realise that their situation doesn’t have to be the end of something they love. It might take time, a few versions, and a lot of trial and error — but solutions exist. They may not look like mine, and they shouldn’t. But they can be found, built, refined, and trusted.
If this page gives someone a starting point, a bit of confidence, or even just the reassurance that they’re not the only one figuring things out as they go, then it’s done its job.
Closing Summary
This project has never been about building the perfect arm. It’s been about building my arm — something that lets me ride, travel, and live the way I want to. Every version taught me something, every failure pushed the design forward, and every kilometre helped shape what the arm has become.
I’m not a prosthetist, an engineer - I’m a design draftsman by trade, and someone who wanted to keep riding and was willing to experiment until I found a solution that worked for me. If sharing this process helps someone else see what’s possible, or gives them the confidence to explore their own ideas, then this page has done what I hoped it would.
The arm will keep evolving. I’ll keep refining it. But for now, this is where the project stands — functional, reliable, and a reminder that progress doesn’t have to be perfect to be worthwhile.

Version 1.0
The original arm. Based on the rudimentary designs readily available. The emphasis here is the lowest possible costs - in early development and on a limited budget I was reluctant to employ the mechanisms used in the later arms.
The hand is also the original “Jesus pin” quick-release type.

Version 2.0 / 2.5
This is the update to the V2.0 arm. The internals have been redesigned, and the removable outer shell has been implemented. There are fewer machined parts and more 3D-printed parts.
This is the first arm in which the improved quick release is used. The hand no longer being comprised of machined parts, and instead being a single 3D printed composite part.

Version 3.0
In the current arm, the bulk of the internals from v2.5 are carried over and the internal and external 3D-printed parts are revised.
The hand, still a single 3D part has some minor changes to increase the range of movement at the wrist.