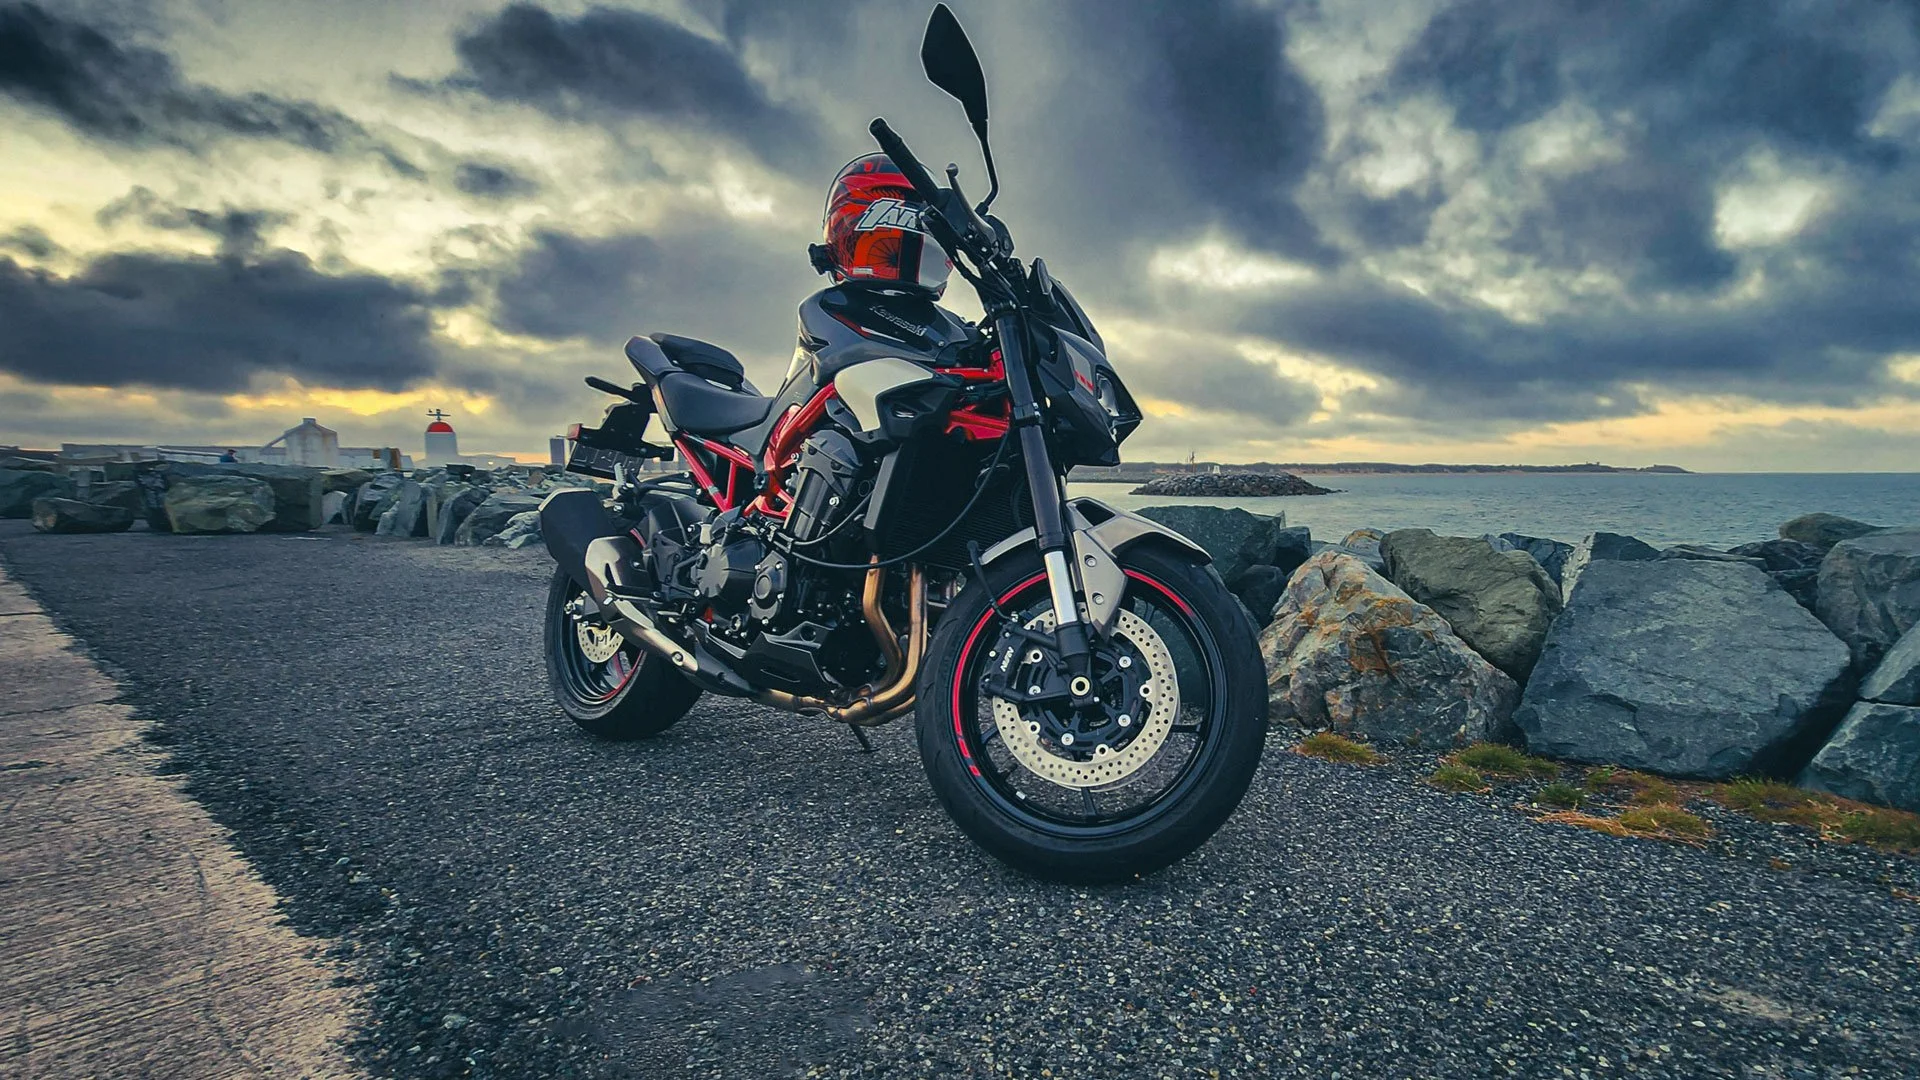
2025 Kawasaki Z900
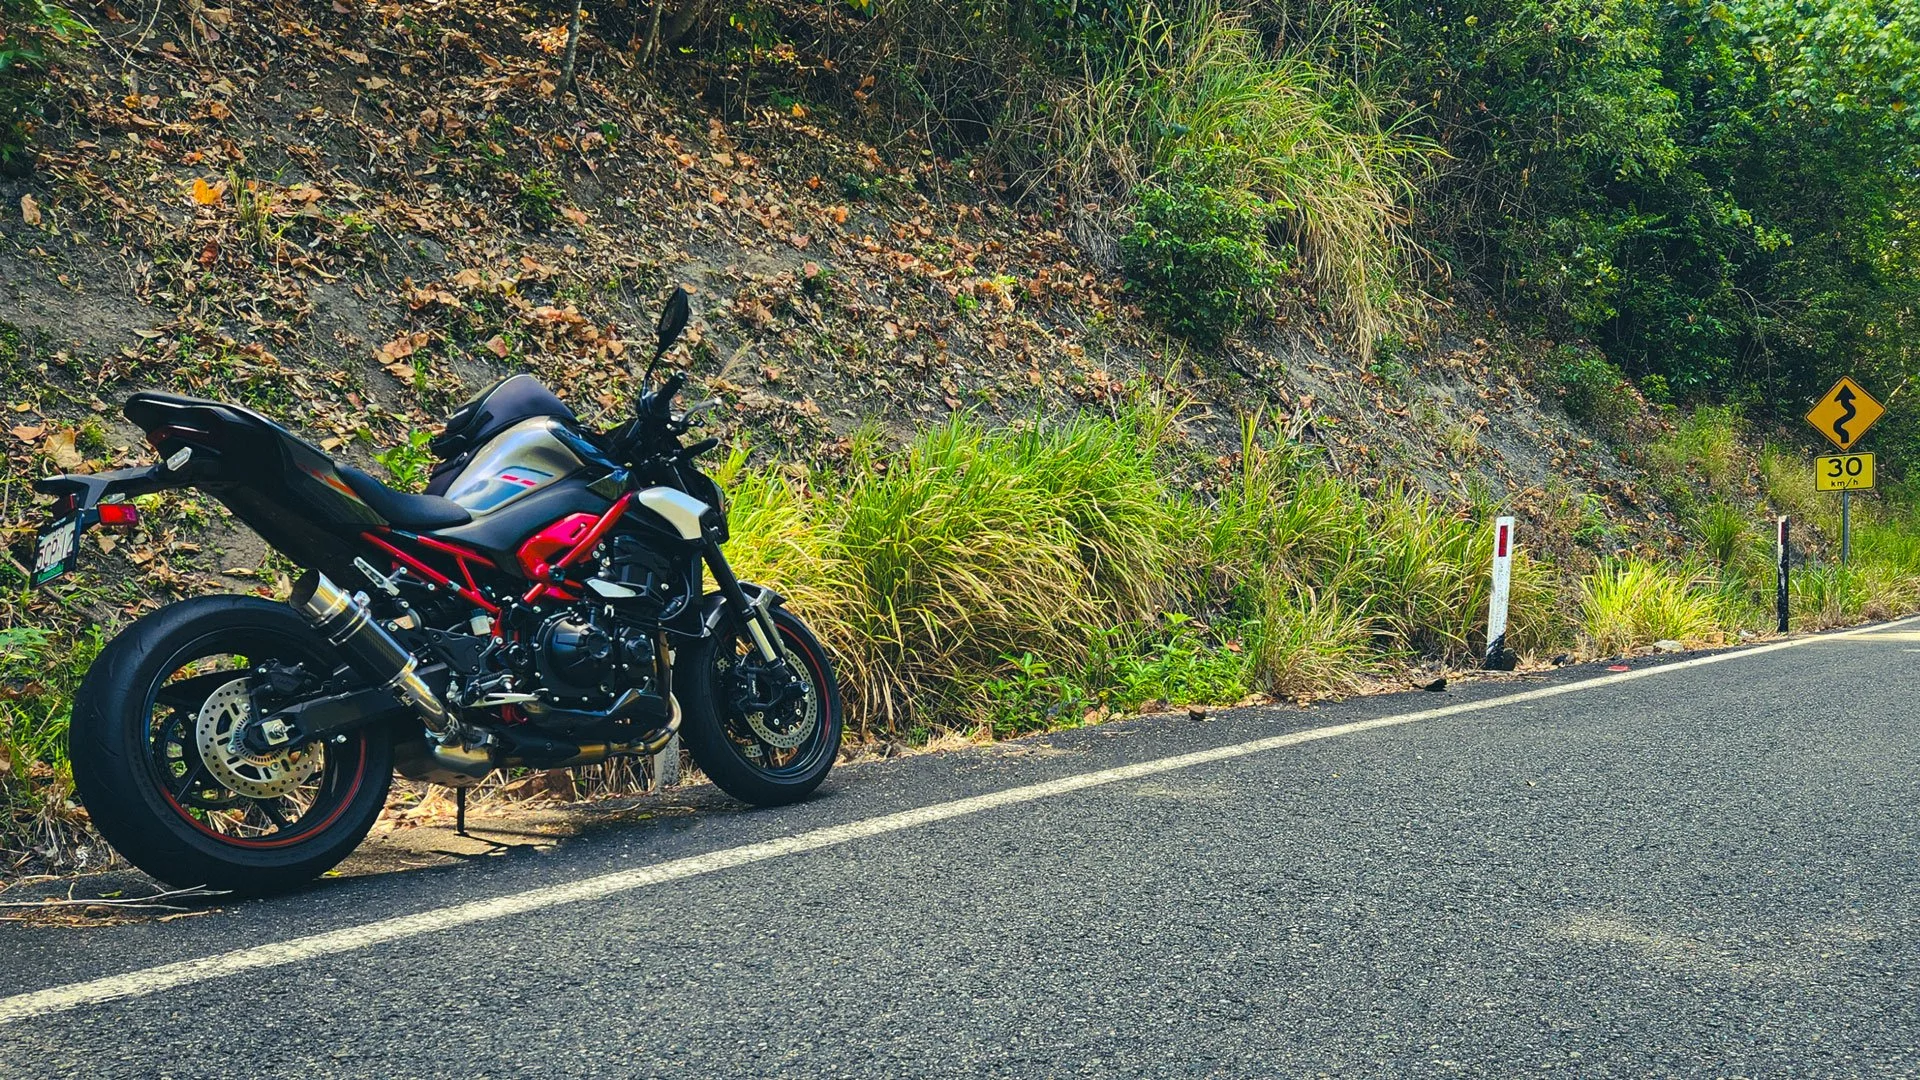
| Year of Purchase | 2025 |
|---|---|
| Kilometers Travelled | 7000km |
| Current Status | Still being ridden regularly. |
| Set up difficulty (for one arm) | 3/10 |
| Other modifications | Delkevic Slip-on exaust. All the Kawasaki Accessories. 39/15 gearing. |
Same as the last zed, just better.
Something different - my first fly-by-wire bike. Probably a few different ways I could go about this, but I went with the tried-and-true “less is more” approach. I left the original RH switchgear in place and created an adapter plate/housing for the new controls. I went with a different clutch lever/lever mount as well, which meant not having to relocate the RH control housing and retain the factory front brake light switch. Nothing scary about the bike's wiring/electrical, other than different connectors.
As with the last Zed, I’m running two clutch cables, but I’ve just about got a “dual clutch levers” thing going on. I currently have two functioning clutch levers, but the plastic part I’m using will need to be replaced with something more reliable. I’ll get there, then wire the bikes’ standard control back in. Aiming to have a bike a “two handed” rider could ride.
This bike is great to ride, not that much different to the previous Zed. I’m running taller gearing, and it's still easy to ride slow and still quick off the mark. Cruise control is a feature I never knew I needed so much.
I think I’m going to keep this one.
Switchgear
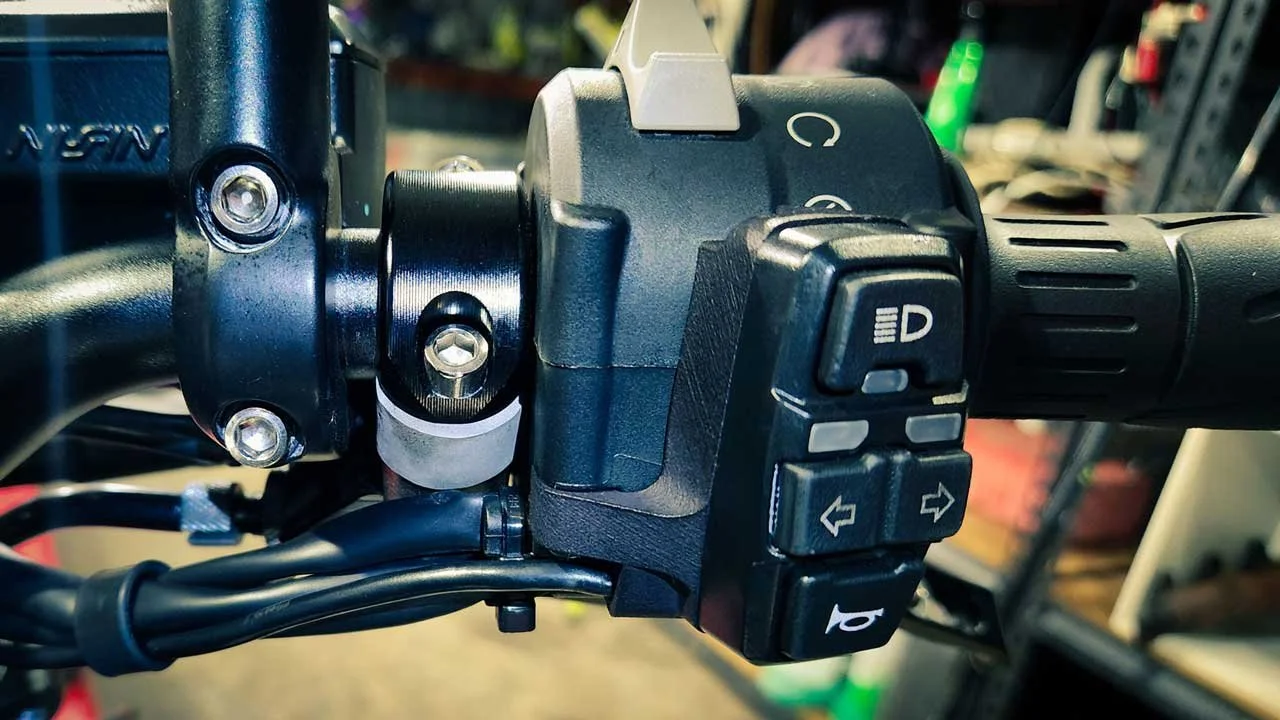
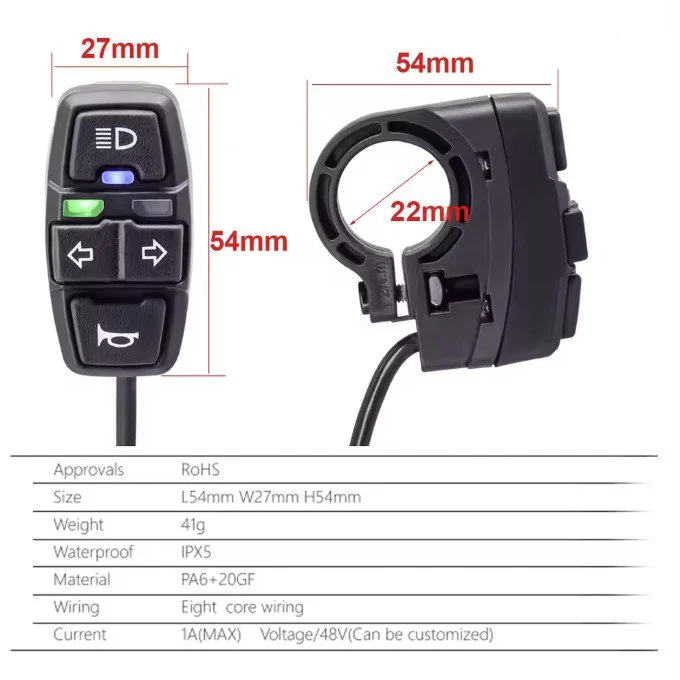
For this Zed, I am using generic ebike switchgear. These are all over AliExpress and are pretty affordable. I’m yet to have a bad unit or have one fail on me. Surprisingly, very water resistant. The fascia, with the switches, does wear out, though, so buy spares. The first set lasted about 18000km before I had to replace the fascia - the wiring and PCB inside were still good. There are LEDs within the unit, and it's a matter of connecting a single wire to make those functional. Wire size is acceptable—similar conductor gauge to the factory wiring. The insulation is light, but all wiring is in a multicore cable.
Not wanting to disassemble the fly-by-wire throttle meant having to create an adapter plate. I reused the two front switchgear housing screws to mount the adapter plate and switches. This adapter plate is 3D-printed MJF Nylon.
Stripping the mounting off the original switchgear needs to be done carefully, or you’ll damage the wiring.
Clutch Lever
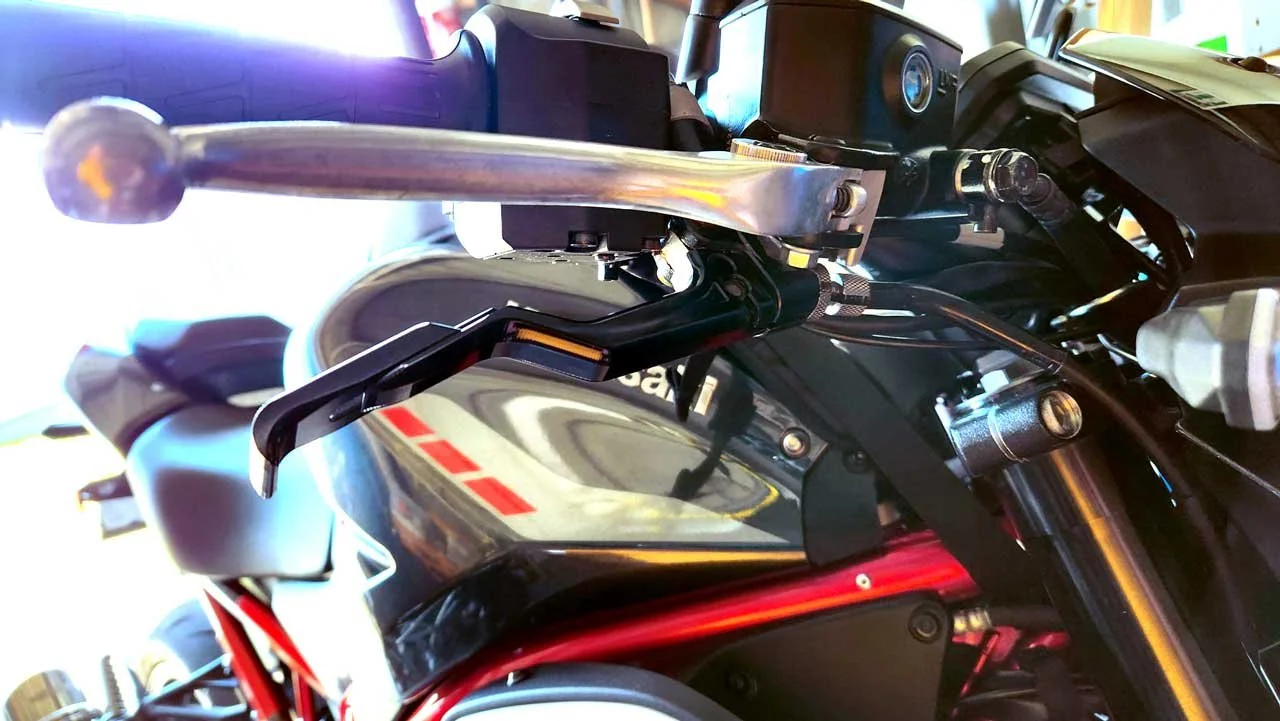
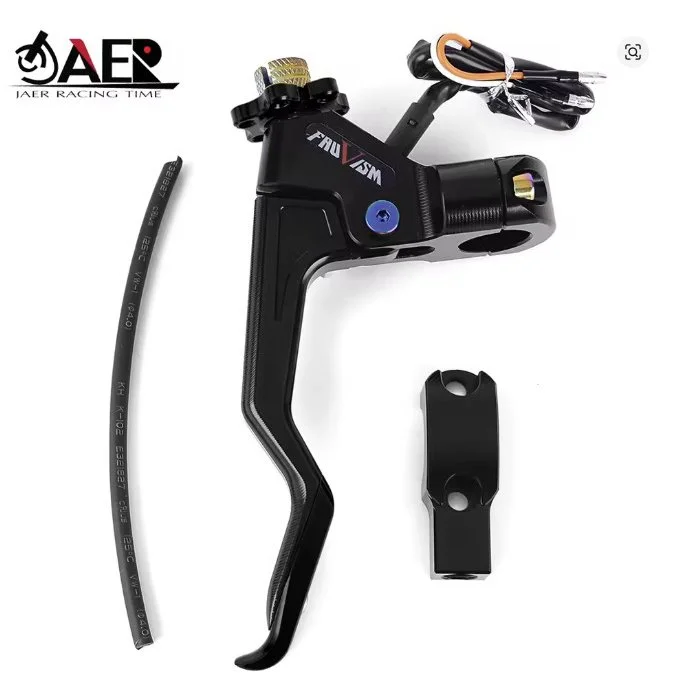
I’m using this chunky lever; it has a bearing on the lever's pivot, and the overall quality is on point. This is another AliExpress find. I’m using this lever as the clutch cable path is parallel with the handlebar centerline- it takes some of the stress out of the cable itself and some of the stress out of installation and maintenance (cable adjustment). I do not use the lock nut that comes with this lever, though - too big- and I’ve instead modified an M10 half-height hex nut. I also had to reshape a portion of the lever to clear the standard switchgear housing - I think I took a millimetre off just to improve clearance when the lever was fully in.
On my Zed, I am using a 3D-printed aluminium spacer to push the lever out and away from the bars.
The standard Z900 clutch cable fits the lever without issue. This lever has been in use for 22000km+ without issue or cable failure.
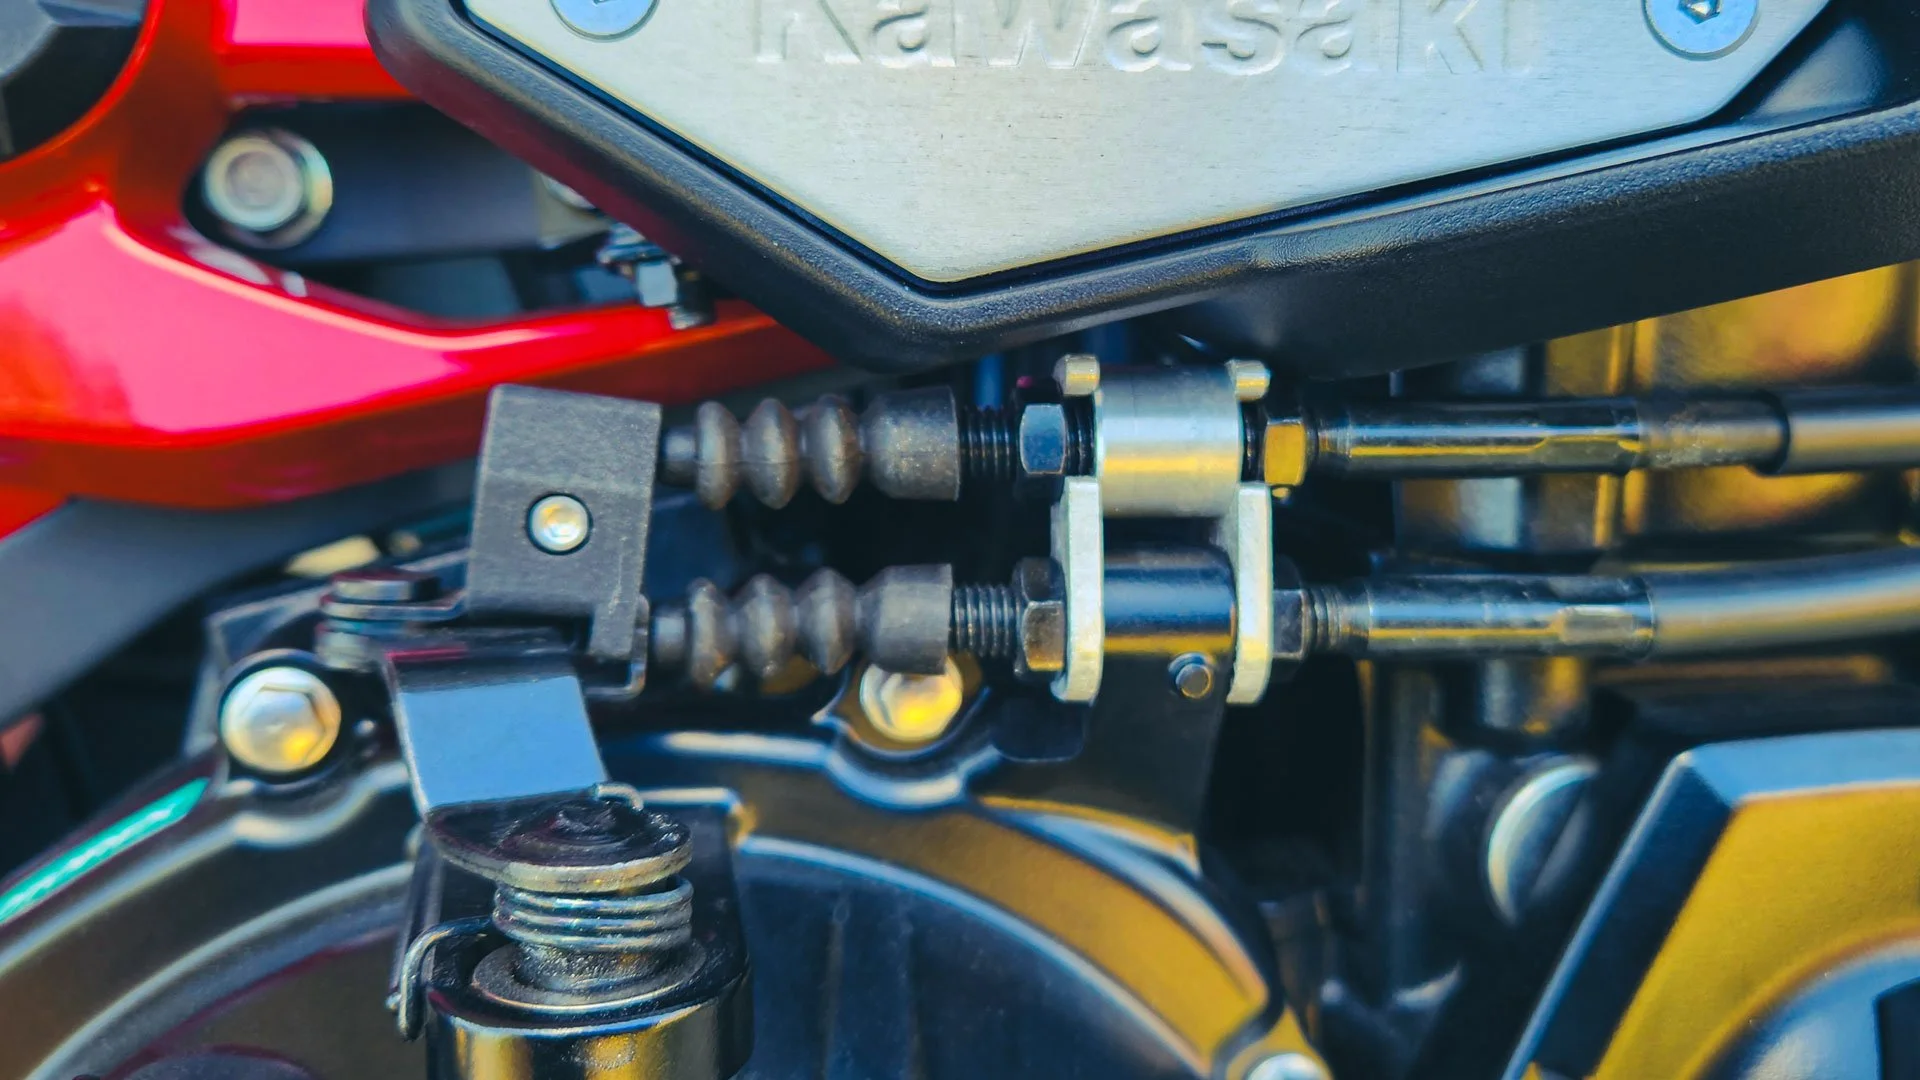
2 x Clutch Cables
I retain the original clutch lever, mounting and cable so I do not have to relocate the clutch switch. The factory clutch cable remains where it is, factory routing, but I’ve added parts that allow my additional clutch cable (also a factory clutch cable) to operate the clutch. These additional parts are two 3mm aluminium plates and an aluminium spacer, and there's the connecting part at the engine's clutch arm. Currently, this is a 3D-printed part, but it needs to be an aluminium part - 3D-printed, hand-crafted or CNC-machined.